Tuesday, January 3, 2012
-Movie Clip Siggy-
11:36 PM
|
Posted by
♥-Sarah-♥
|
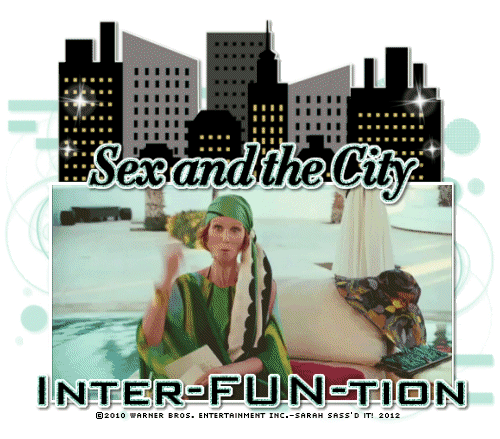
This is what we will be making:
For this tutorial, you’ll need a working knowledge of PSP.
I’m using PSP 9 but any version should work.
This tutorial is my OWN and any resemblance to any other is purely coincidental.
I wrote this tutorial on January 3, 2012
***IT IS NOT my intention to violate any © with these images! I have credited the company affiliated w/ these images & claim none of them as my own!! If need be, this tutorial can be removed at the request of the © holder. **
You need:
Elements of choice
Mask of choice
Movie/show clip of choice
Animation shop
BE SURE TO PROPERLY CREDIT THE MAKER OF YOUR IMAGES!
This is pretty simple. I hope I’m easy to understand!
In PSP:
Open a new canvas 800*600
flood fill white
In AS:
Open your GIF
If it is really large you might want to resize it a bit
Copy the first frame
Back to PSP
Paste your frame as new image


flood fill w/ any color--this is going to represent our animation placement in our tag


Make your tag like you normally would
Placing your colored “spacer” where your animation will be


Add the rest of your text or whatever you’re going to add.
You’re going to want to end up w/ 2 different layers in your PSP
So everything ABOVE where your animation will be--Merge it all together.
Close off that merged layer-Mine was my TEXT
Then merge visible-The rest of my tag

Copy your first layer
Got to AS
Paste as new animation
Back to PSP
Copy second layer
Paste as new animation in AS
Look at how many frames your GIF is
Duplicate BOTH of the frames you just posted in your AS the same amount of times as your GIF
My GIF had 34 frames.
I duplicated my text layer to where it was 34 frames.
I did the same w/ my merged tag
Select ALL frames of your GIF
Copy
Select the part of your tag that has your “space”
Select ALL frames
Right click in your first frame
Paste INTO selected frame
Place your animation where your “spacer” is
Then go to your other tag layer
Select all
Copy
Back to your tag where you just pasted your animation
Select all
Right click first frame again
Paste INTO selected frame
Position
Click
View animation & if you’re happy-
SAVE!!
I hope this was easy to understand!!
Thanks for trying it out!
Subscribe to:
Post Comments
(
Atom
)
Old Temps
Older templates can be downloaded HERE
Background created by Sarah-Scrap kit by Just So Scrappy. Powered by Blogger.
Lables
- 12 Days of Christmas Freebie ( 12 )
- 4th Of July ( 3 )
- Animated ( 16 )
- award ( 6 )
- baby ( 1 )
- blog train ( 1 )
- Caron Vinson ( 3 )
- Christmas ( 22 )
- city ( 1 )
- country ( 1 )
- CT call ( 1 )
- CT Tags ( 17 )
- CU ( 1 )
- CU Freebie ( 5 )
- Easter ( 2 )
- Elias Chatzoudis ( 28 )
- emo ( 5 )
- Facebook cover ( 1 )
- Fall ( 14 )
- forum set ( 2 )
- Frame ( 2 )
- Freebie ( 25 )
- Frieng Gifts ( 2 )
- FTU ( 6 )
- FTU Kit ( 8 )
- FTU tag ( 3 )
- FTU tag. Garv ( 1 )
- FTU Tube ( 4 )
- FTU Tut ( 30 )
- Garvey ( 10 )
- girly ( 1 )
- Gorjuss ( 11 )
- Halloween ( 7 )
- haloween tut ( 6 )
- holiday ( 1 )
- Joel adams ( 4 )
- Jose Cano ( 7 )
- Josh Howard ( 1 )
- Lady Mishka ( 5 )
- Made w. my kits ( 14 )
- Mask ( 1 )
- native ( 1 )
- Nene Thomas ( 1 )
- new year ( 3 )
- NEWS ( 2 )
- No Tube ( 3 )
- pinuptoons ( 3 )
- PTE ( 1 )
- PTU ( 3 )
- PTU CU ( 2 )
- PTU Kit ( 20 )
- PTU tags ( 58 )
- PTU Tut ( 127 )
- RAC ( 29 )
- Rac Tutorial ( 15 )
- Robert Alvarado ( 1 )
- SALE ( 5 )
- School ( 1 )
- Show Off ( 9 )
- Snags ( 2 )
- Spring ( 4 )
- St. Patrick's Day ( 2 )
- Store collab ( 1 )
- Summer ( 19 )
- Template ( 44 )
- Thanksgiving ( 1 )
- tooshtoosh ( 21 )
- tutorial ( 3 )
- twilight tutorial ( 2 )
- Using my kits ( 1 )
- using my temps ( 8 )
- Valentines ( 8 )
- verymany ( 2 )
- Winter ( 8 )
- Zindy ( 2 )
- zlata ( 1 )
CU Licenses


My Blinkies


-Follow Me!-
My TOU
By downloading any of my items, you agree to the following TOU:
All items I provide on this blog are my own creations.
Any resemblance to another product is strictly coincidental.
Please do not share anything I create!
Do not claim as your own. Give credit where it is due!
If you use them for challenges, please link back to my blog.
If you use them in tutorials, please link back to my blog.
If you use any of my creations, I would love to see it!! Feel free to email them to me, anytime & I will display them on my blog!!
Blog: http://sarahstagsthings.blogspot.com/
My Email: Smcmanus44@gmail.com
Thank you!!
0 comments :
Post a Comment