Thursday, July 28, 2011
-Mean: Showcase-
4:43 PM
|
Posted by
♥-Sarah-♥
|
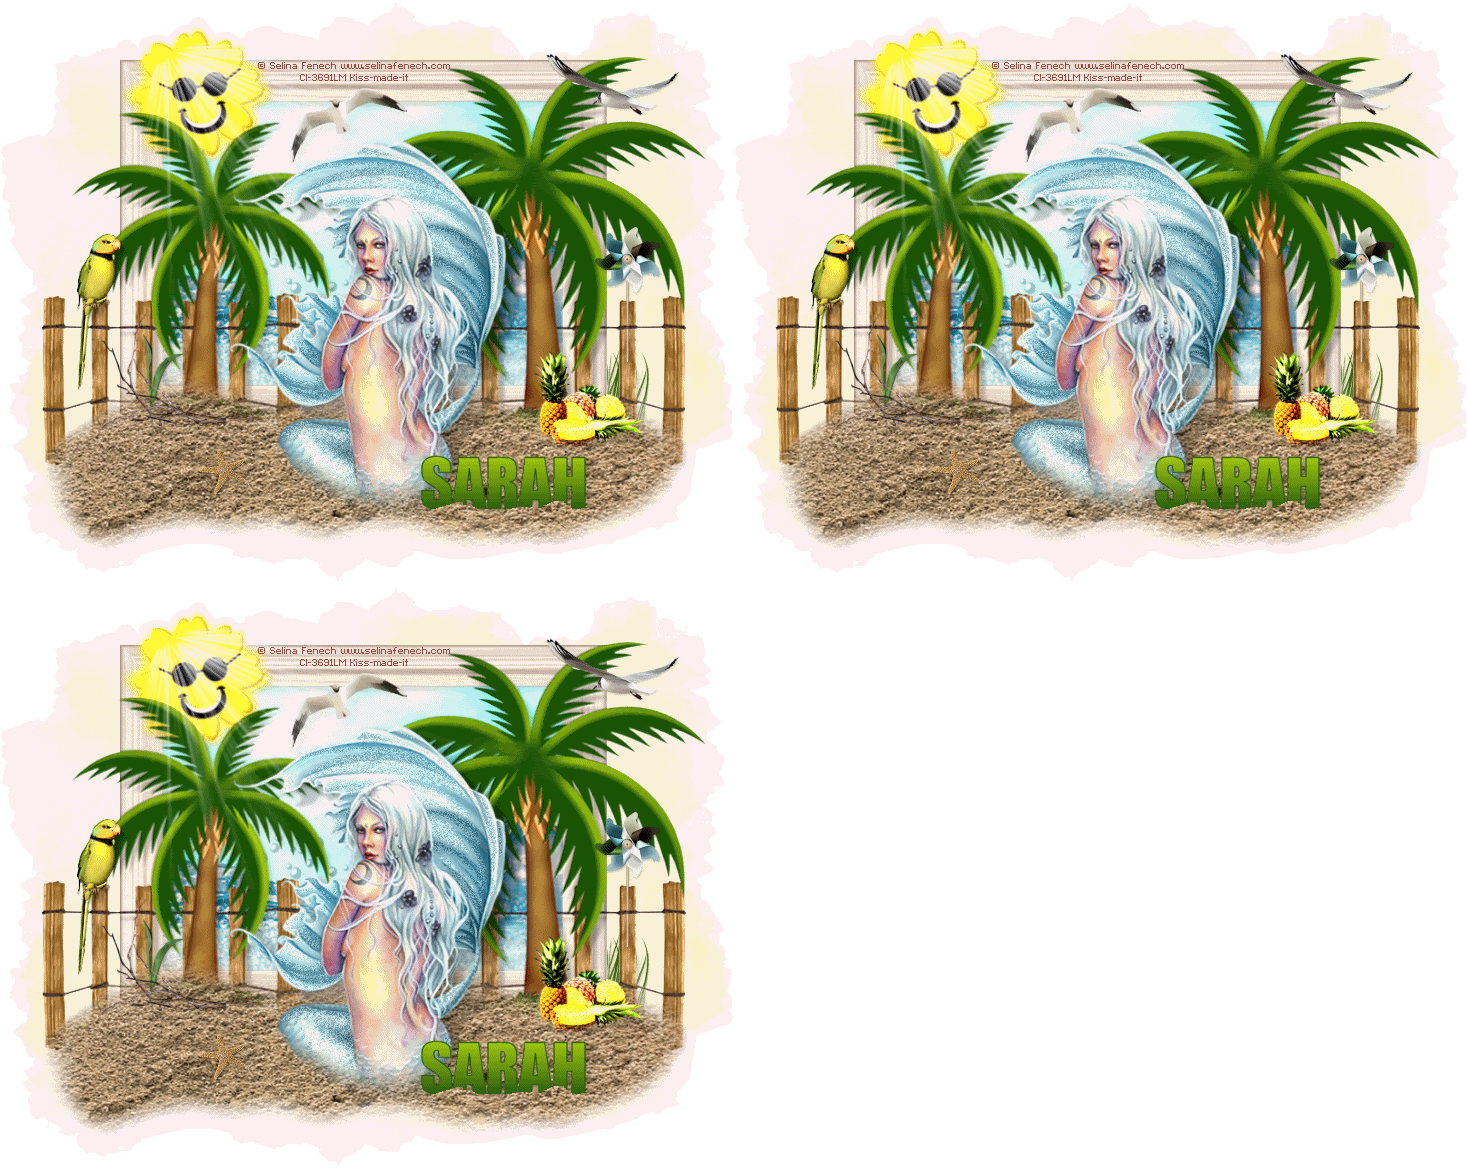
Big thanks to Lisa for using my template in her tutorial!!
Check out her fab tag:
Check out her tutorial HERE
Thanks Lisa for letting me know about this tut!!
If you use any of my temps or kits in a tag or tut & would like it showcased here, shoot me an email!!
Labels:
Show Off
|
0
comments
-Need for speed Set-
7:42 AM
|
Posted by
♥-Sarah-♥
|
I used Kelly's new kit 'Need 4 Speed' to make this set.
Check out her BLOG to get this kit & many more awesome creations from her.
Fab kit girl!!
Look for a new tag & tut w/ this kit soon!!
-Mean Tag-
7:40 AM
|
Posted by
♥-Sarah-♥
|
Tuesday, July 26, 2011
-Beach Birds-PTU-
12:18 PM
|
Posted by
♥-Sarah-♥
|
For this tutorial, you’ll need a working knowledge of PSP.
I’m using PSP 9 but any version should work.
This tutorial is my own and any resemblance to any other is purely coincidental.
Supplies for this tutorial:
PSP (any version)
Scrap kit of choice.
I’m using the PTU kit: Beach Birds
Be sure to check out her blog: www.candyliciousdesignez.blogspot.com
Tube of choice: These ADORABLE penguins are included in the kit!
Template: For the birds by me, here on my blog
Let’s begin:
Open the template
Remove my © layer
Select a part of the template you want to work w/ first
Selections-select all
Float
Defloat
Copy a paper from the kit
Paste as new layer
Selections
Invert
Delete
Select none
Do the same for the other parts of the template you want to add a paper to.
Select the elements you want to include in your tag.
You will have to resize them according to your tag size.
Add them to your tag, placing them where you like.
I used two penguins
The wave
Palm tree
Surf board
Sand
Sand castle
Add drop shadow to each element you use.
In the background square, add one of your penguins
Crop to fit his face into the square
Crop your tag and resize as desired.
Save & enjoy your fun new tag!!
Labels:
PTU Tut
,
Summer
|
0
comments
Monday, July 25, 2011
☼-For the birds-Template☼
5:30 PM
|
Posted by
♥-Sarah-♥
|
Made this template to go with my friend Natalie's awesome scrap kit-BEACH BIRDS
Check out her fab kits HERE.
I'll have a tut for it soon!!
Here's the template:
Labels:
Freebie
,
Summer
,
Template
|
1
comments
Saturday, July 23, 2011
○•○MEAN○•○
1:33 PM
|
Posted by
♥-Sarah-♥
|
I LOVE Taylor swift so I LOVE Rac's new tube of Taylor--
So I HAD to make SOMETHING to go with her!! I'm not wonderful w/ kits..lol
So I did a template! Hope someone can use it!!
Labels:
Freebie
,
Template
|
1
comments
Saturday, July 16, 2011
•Blue Moments-PTU•
3:46 PM
|
Posted by
♥-Sarah-♥
|
For this tutorial, you’ll need a working knowledge of PSP.
I’m using PSP 9 but any version should work.
This tutorial is my own and any resemblance to any other is purely coincidental.
Supplies for this tutorial:
PSP (any version)
Scrap kit of choice.
I’m using the PTU kit: Simply Irresistable By Jens Sweet Temptations
Be sure to check out her blog: http://jenssweettemptations.blogspot.com/
Tube of choice: An FTU tube by Nene Thomas
Her site is her: www.nenethomas.com
Let’s begin:
Open a new canvas 500x200
Copy a paper from the kit
Paste as new layer & position to your liking.
Copy the flowers with the sparkles.
Paste as new layer.
Duplicate & mirror.
Add drop shadow to each one.
Add your tube & add drop shadow.
Now add new raster layer flood fill with a color to match your tube and kit.
Select all
Selections
Modify
Contract by 3
Hit delete
Select none
Add noise of choice
Resize and add your name/text
As well as your copyright info.
Save & enjoy.
Labels:
FTU Tube
,
PTU Tut
|
0
comments
Tuesday, July 12, 2011
•Show Off!!•
2:20 PM
|
Posted by
♥-Sarah-♥
|
Have a few tags to show off.
These awesome tags were made by some fabulous designers!
Thanks so much for sending them to me guys!!
Amy used my newest template to make this awesome tag!
Thanks so much Amy!!
These awesome tags were made by some fabulous designers!
Thanks so much for sending them to me guys!!
Amy used my newest template to make this awesome tag!
Thanks so much Amy!!
Rachel used the same template & made this awesome tag.
Thanks so much Rachel!!
Kiss did my newest tut and got fabulous results!
Thanks so much for my tag hun!!
Labels:
Show Off
|
0
comments
Thursday, July 7, 2011
So over the DRAMA!-TEMPLATE
4:04 PM
|
Posted by
♥-Sarah-♥
|
IDK about the rest of you..
But I am soOo over the drama that has surrounded the PSP community lately.
It's UGLY & people are being hurt--It has got to STOP!!
Where is the love?? Where is the art?? It's all getting lost in the midst of all the fighting!!
Let's get back to what PSP used to be about!!
Here's a temp I'd like to share with everyone!!
Labels:
FTU
,
Template
|
5
comments
Tuesday, July 5, 2011
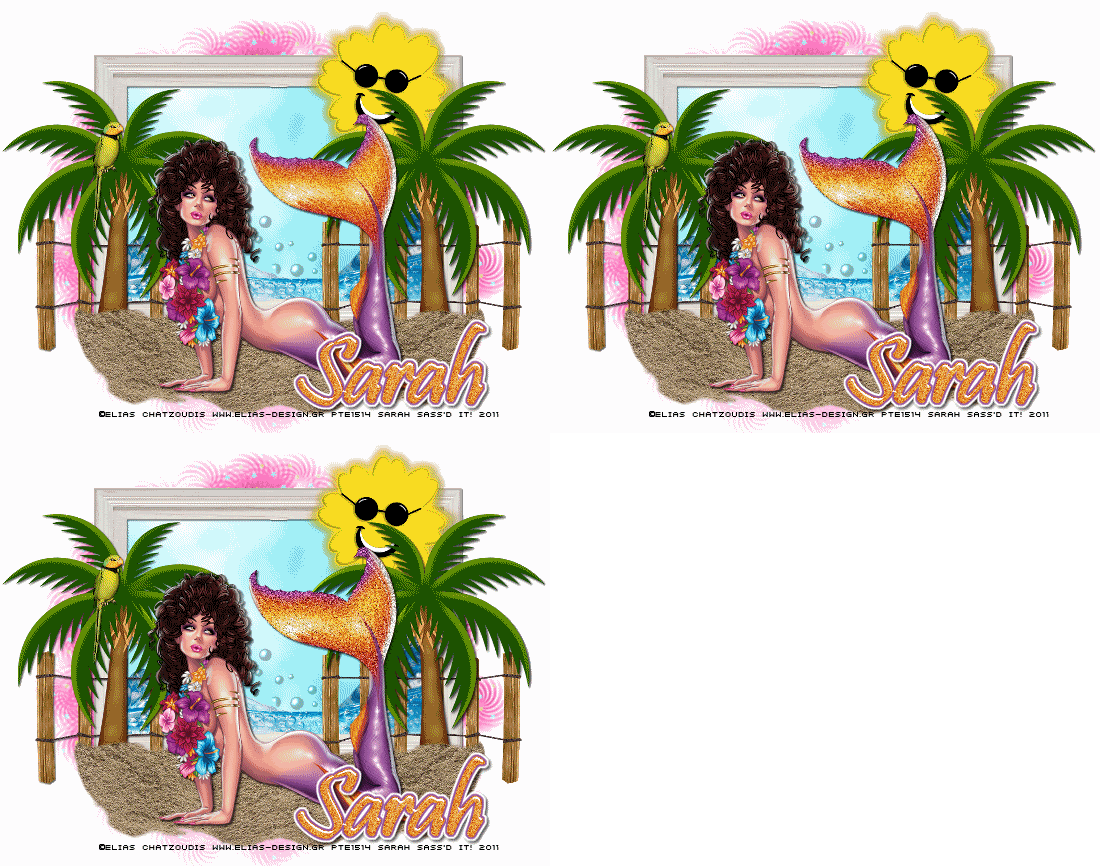
-Mermaid Dreams-FTU-
7:08 PM
|
Posted by
♥-Sarah-♥
|
(click for clear view)
For this tutorial, you’ll need a working knowledge of PSP.
I’m using PSP 9 but any version should work.
This tutorial is my own and any resemblance to any other is purely coincidental.
Supplies for this tutorial:
PSP (any version)
Scrap kit of choice.
I’m using the FTU kit: Cool Summer
You can get her kits here: http://scrapsdimensions-dorisnilsa.blogspot.com
Tube of choice. I’m using is by Elias Chatzoudis.
But you can find these tubes here: http://psptubesemporium.com/
You MUST have a license to use these tubes. Don’t use them without a license!
Mask 194 here: http://gemstagginscraps.blogspot.com
Let’s begin:
Open a large canvas (800x600--or bigger)
Select the window element.
Resize and paste as new layer.
(I erased the middle of my window frame)
Select the inside of the window w/ your magic wand
Selections
Modify
Expand by 4
Copy and paste a paper from the kit as a new layer
Selections
Invert
Delete
Select none
Move paper below your frame
Select the water element
Copy and paste on top of your paper
Crop as needed
Select the sun element
Copy and paste as new layer
Position as desired
Add drop shadow.
Copy the fence element
Resize and paste as new layer
Duplicate
Mirror
Add drop shadow to both.
Copy and paste the palm tree
Position
Duplicate
Mirror
Add drop shadow to each one.
Copy and paste the sand element
Resize if you want
Copy & paste your tube
Add drop shadow
Select a paper from your kit
Paste under all other layers
Apply your mask to this paper.
Merge visible
Crop and resize your tag as you want.
Add your © info and your name/text.
If you aren’t going to animate you’re done.
TO ANIMATE
We’re going to do glitter:
Use your magic wand. Select whatever you want to have glitter.
Adjust-Add noise-
Uniform-Monochrome checked-Noise 35%
-Select none-
Edit-Copy Merged
Paste as new animation in animation shop
-Back to PSP
Repeat the add noise changing your noise setting to 45
-Select none-
Edit copy merged
Paste AFTER current frame in AS
Back to PSP
Repeat again, changing the noise to 55
-Select none-
Copy merged
Paste after current frame in AS
View animation
Save if satisfied
Enjoy your tag!
Labels:
Animated
,
Elias Chatzoudis
,
FTU Tut
|
0
comments
Subscribe to:
Posts
(
Atom
)
Old Temps
Older templates can be downloaded HERE
Background created by Sarah-Scrap kit by Just So Scrappy. Powered by Blogger.
Lables
- 12 Days of Christmas Freebie ( 12 )
- 4th Of July ( 3 )
- Animated ( 16 )
- award ( 6 )
- baby ( 1 )
- blog train ( 1 )
- Caron Vinson ( 3 )
- Christmas ( 22 )
- city ( 1 )
- country ( 1 )
- CT call ( 1 )
- CT Tags ( 17 )
- CU ( 1 )
- CU Freebie ( 5 )
- Easter ( 2 )
- Elias Chatzoudis ( 28 )
- emo ( 5 )
- Facebook cover ( 1 )
- Fall ( 14 )
- forum set ( 2 )
- Frame ( 2 )
- Freebie ( 25 )
- Frieng Gifts ( 2 )
- FTU ( 6 )
- FTU Kit ( 8 )
- FTU tag ( 3 )
- FTU tag. Garv ( 1 )
- FTU Tube ( 4 )
- FTU Tut ( 30 )
- Garvey ( 10 )
- girly ( 1 )
- Gorjuss ( 11 )
- Halloween ( 7 )
- haloween tut ( 6 )
- holiday ( 1 )
- Joel adams ( 4 )
- Jose Cano ( 7 )
- Josh Howard ( 1 )
- Lady Mishka ( 5 )
- Made w. my kits ( 14 )
- Mask ( 1 )
- native ( 1 )
- Nene Thomas ( 1 )
- new year ( 3 )
- NEWS ( 2 )
- No Tube ( 3 )
- pinuptoons ( 3 )
- PTE ( 1 )
- PTU ( 3 )
- PTU CU ( 2 )
- PTU Kit ( 20 )
- PTU tags ( 58 )
- PTU Tut ( 127 )
- RAC ( 29 )
- Rac Tutorial ( 15 )
- Robert Alvarado ( 1 )
- SALE ( 5 )
- School ( 1 )
- Show Off ( 9 )
- Snags ( 2 )
- Spring ( 4 )
- St. Patrick's Day ( 2 )
- Store collab ( 1 )
- Summer ( 19 )
- Template ( 44 )
- Thanksgiving ( 1 )
- tooshtoosh ( 21 )
- tutorial ( 3 )
- twilight tutorial ( 2 )
- Using my kits ( 1 )
- using my temps ( 8 )
- Valentines ( 8 )
- verymany ( 2 )
- Winter ( 8 )
- Zindy ( 2 )
- zlata ( 1 )
My TOU
By downloading any of my items, you agree to the following TOU:
All items I provide on this blog are my own creations.
Any resemblance to another product is strictly coincidental.
Please do not share anything I create!
Do not claim as your own. Give credit where it is due!
If you use them for challenges, please link back to my blog.
If you use them in tutorials, please link back to my blog.
If you use any of my creations, I would love to see it!! Feel free to email them to me, anytime & I will display them on my blog!!
Blog: http://sarahstagsthings.blogspot.com/
My Email: Smcmanus44@gmail.com
Thank you!!


